Painting Kitchen Countertops With Giani Granite
Here’s my experience with painting kitchen countertops with Giani Granite.
I’ve attempted a DIY counter top before in the past, and it turned out okay but I found that it was missing something. It was missing the shine, the smoothness and the natural look that grainte provides. So when I decided to opt for a faux grainte look, I didn’t want to mess around. I turned to the experts over at Giani Granite when it came to painting kitchen countertops.
Painting Countertops: The Tools I Used
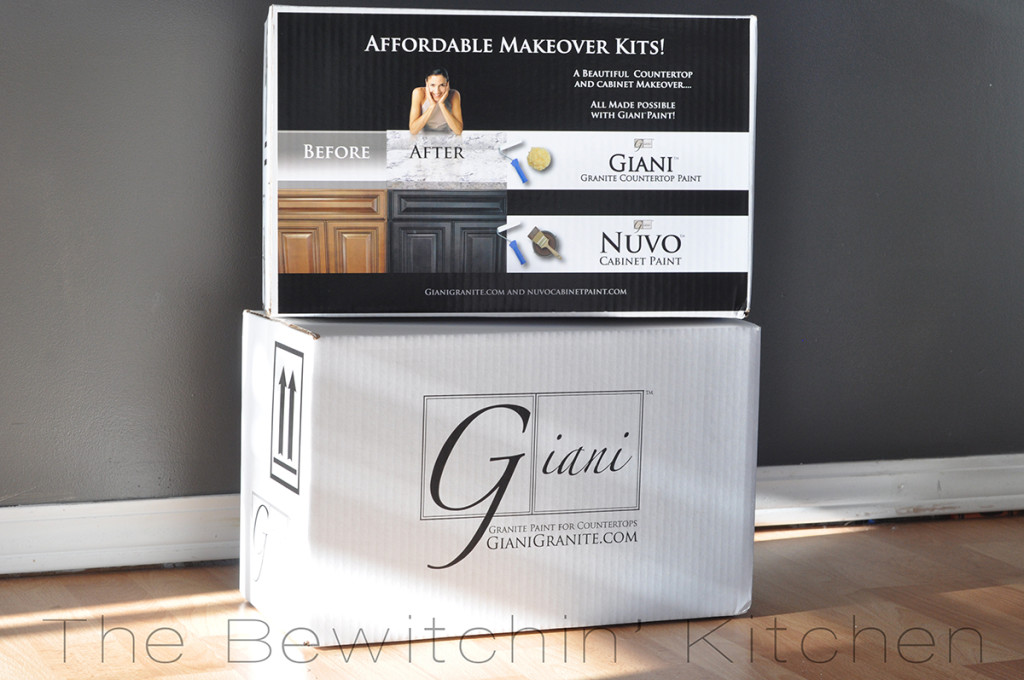
Giani Granite is an easy way to update your dated (or just plain ugly) surfaces. Giani isn’t limited to countertops, you can use Giani on many surfaces to create a granite look. They offer a variety of stunning colors to create the granite look you’re looking for. My favorite is the chocolate, but since my kitchen is painted Benjamin Moore’s Kendall Charcoal and my cupboards are white I thought White Diamond would work well with my situation.
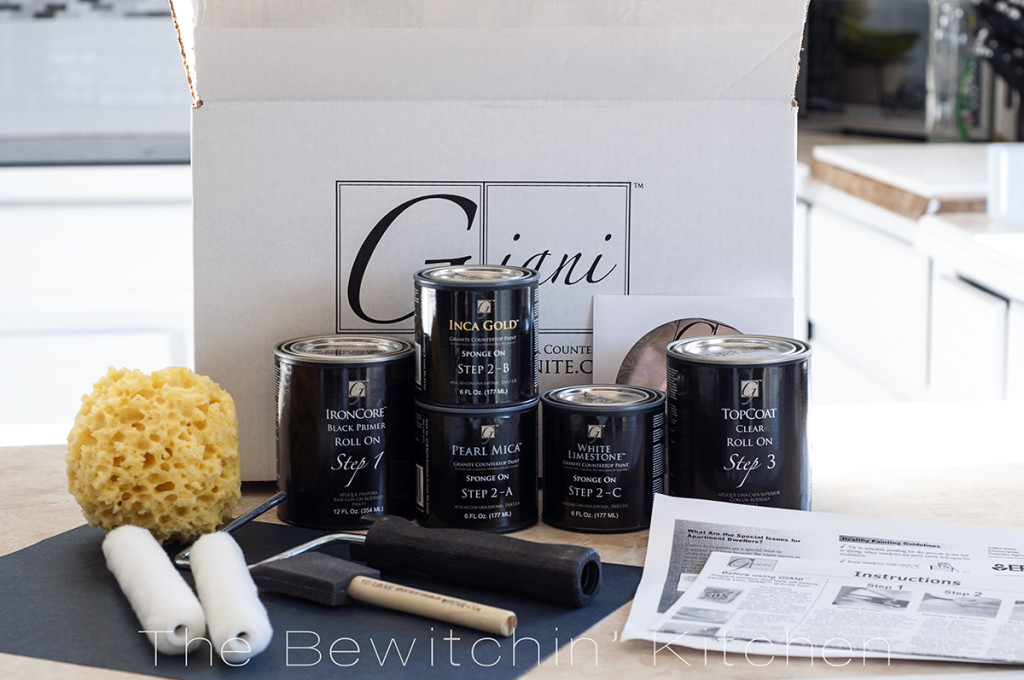
What’s included in the Giani Kit:
- Sea Sponge
- Roller with two covers
- Foam brush
- Practice board
- Primer
- 3 mineral covers
- Top Coat
- DVD and paper instructions
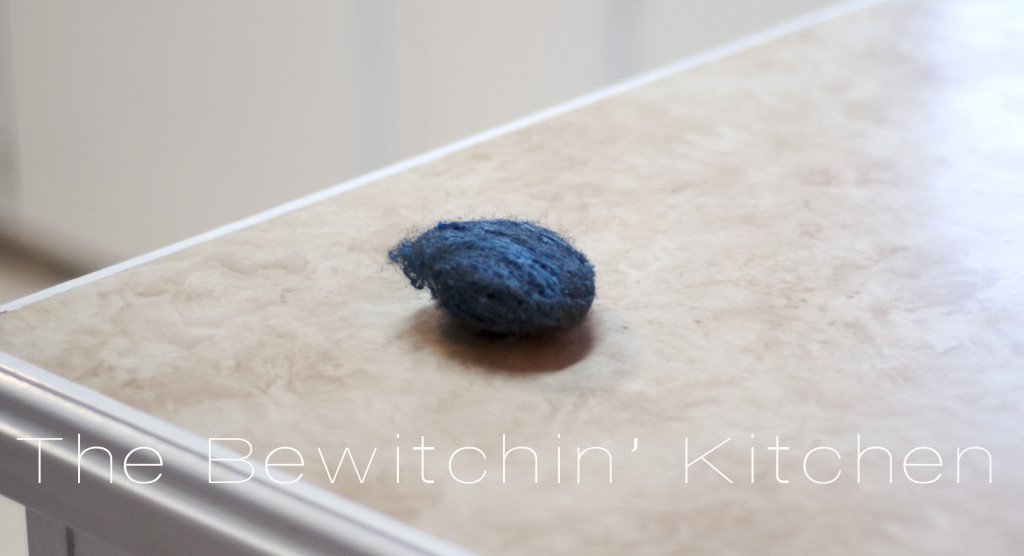
You will need a paint tray, paper plates, SOS pads, Frog Tape and drop sheets. Lets Get Started!
Prepping Countertops for Paint
As tedious as it is, the prep work is the most important part of the whole process. So do a good job now, and avoid a lot of headaches later. Giani Granite does not require sanding, and after all the sanding I had to do during my kitchen cabinet transformation, I was thrilled. All I had to do was take an SOS pad to where I wanted to paint, then rinse it twice. Actually, I rinsed it a few times more than twice. I was wanted to really make sure there was no more residue (to rinse just take a damp cloth or paper towel to the counter tops).
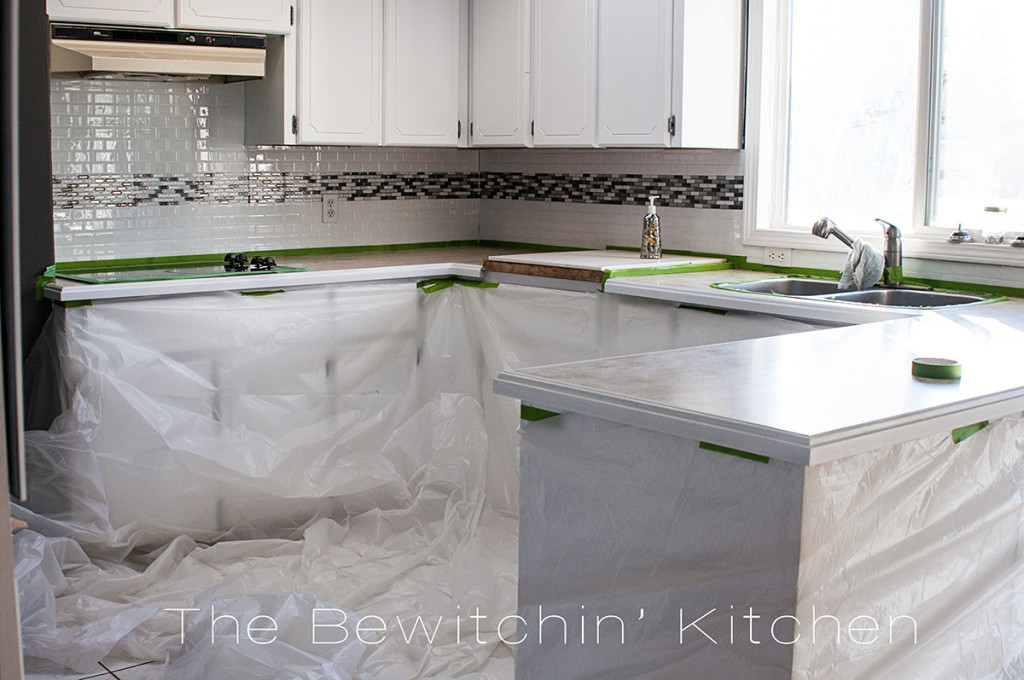
I wasn’t going to risk getting any of the paint on my newly painted kitchen cabinets, so I took an extra step and covered them with a cheap drop cloth. You can get them at the dollar store, for $1. I protected my new DIY backsplash and walls with Frog Tape, as suggested by Giani.
Painting Kitchen Countertops

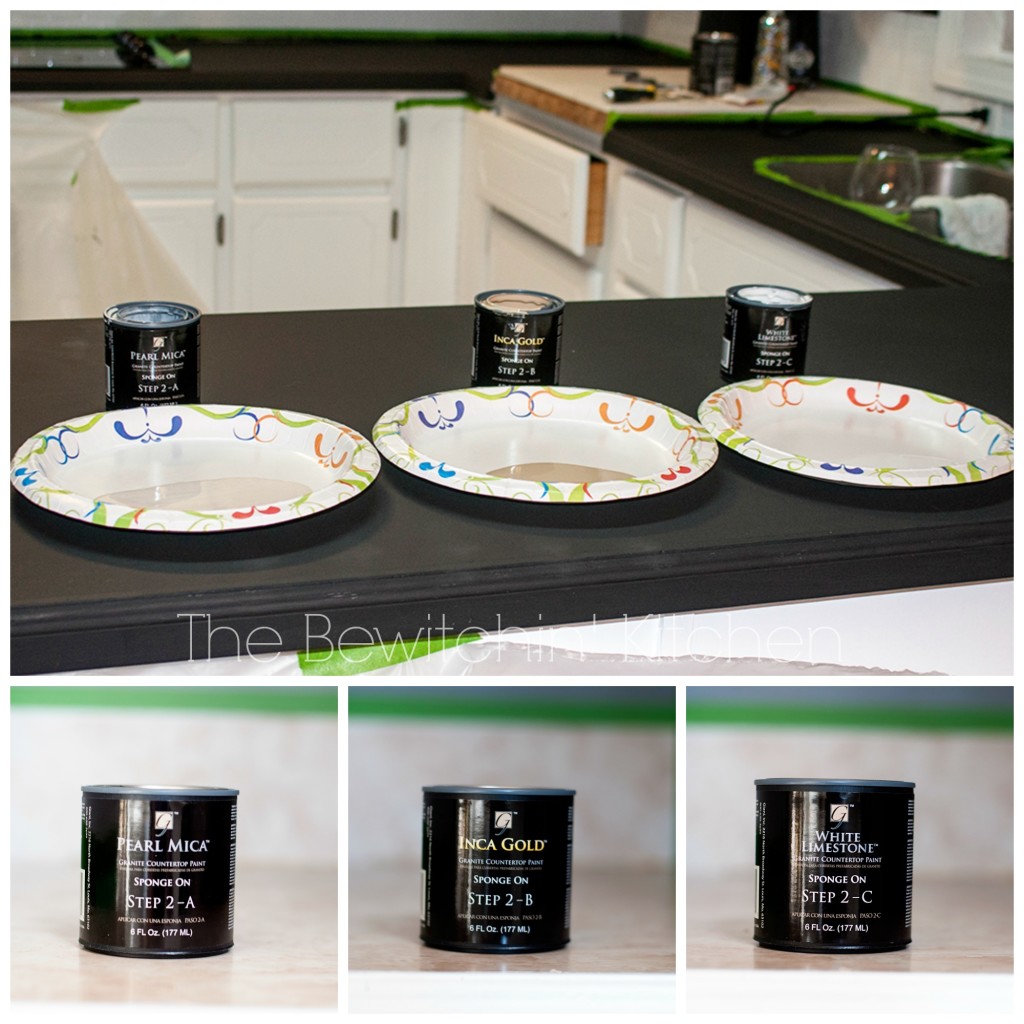
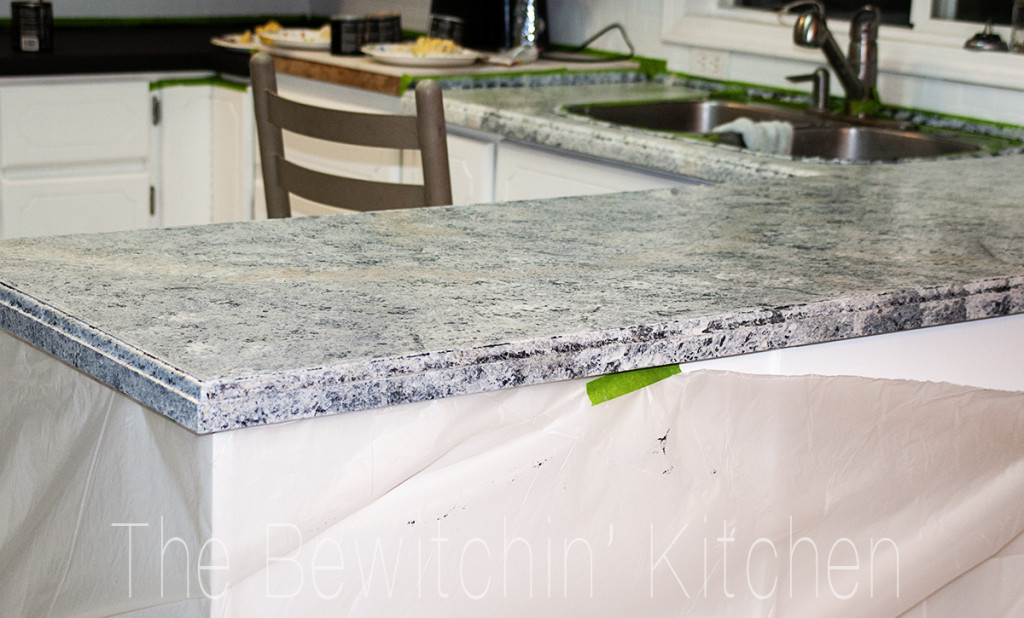
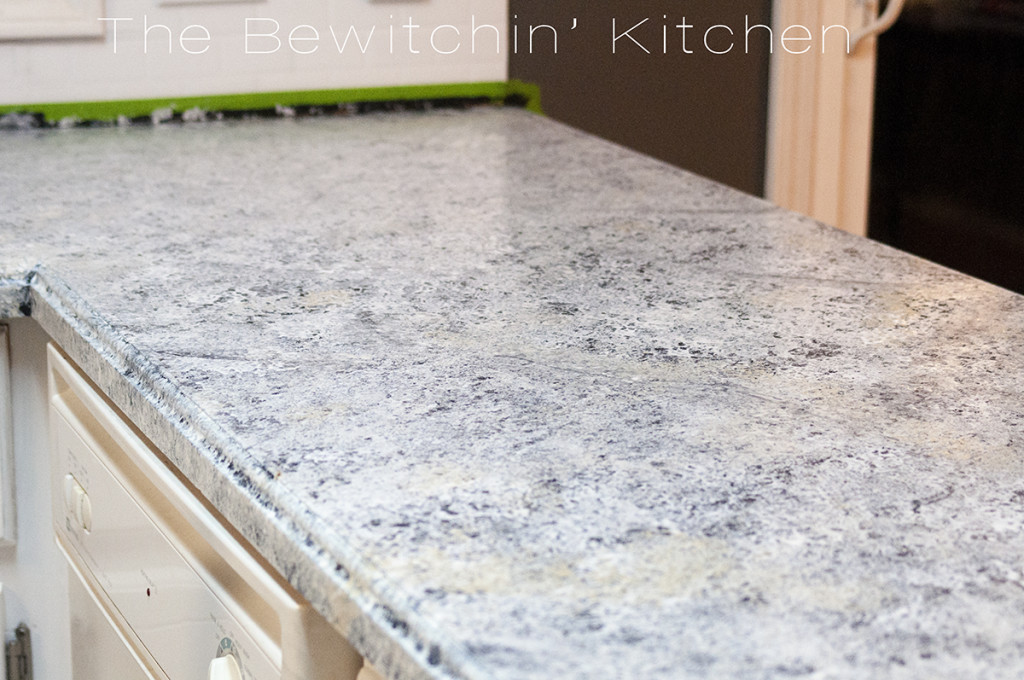
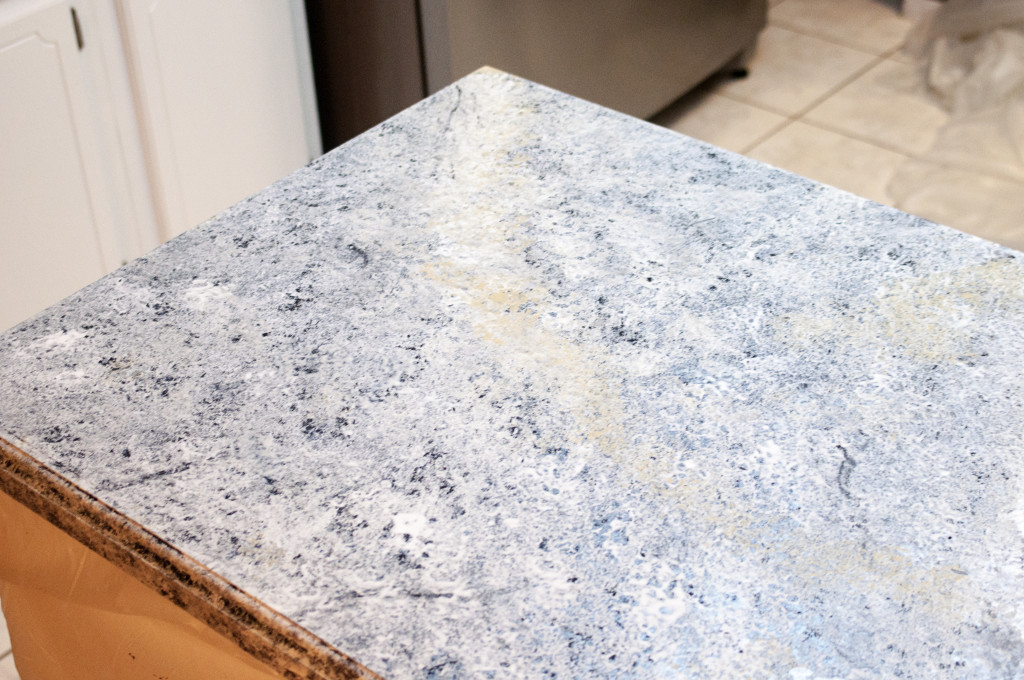
You are in total control when using the Giani kits. I wasn’t a huge fan that the White Diamond kit came with Golds, I wanted to leave it out but figured it was there for a reason and used it sparingly. I did do one “accent” section and I think it really helps it look more like natural stone. I’m glad I did it. I also bought a paint brush kit from the dollar store to do some “veining”. Here’s a quick video I took to demonstrate my technique:
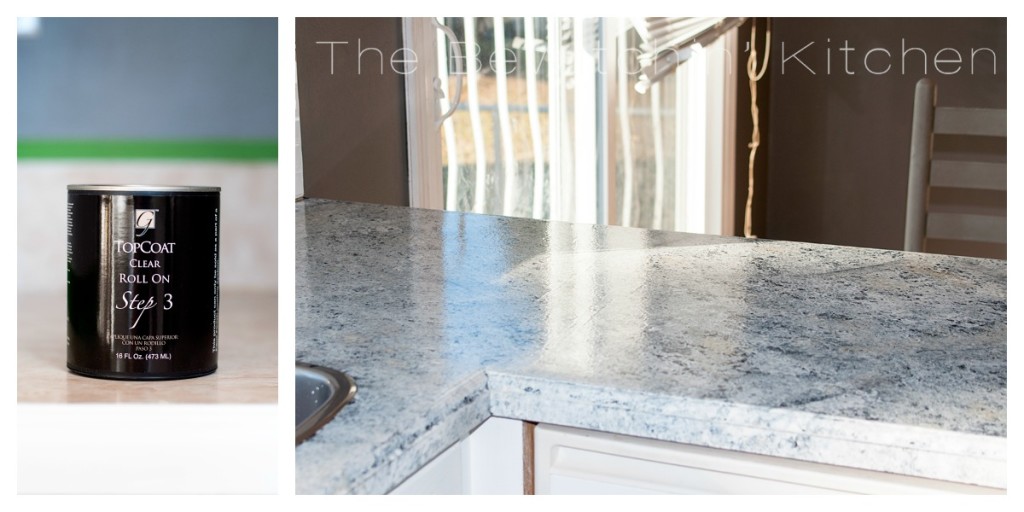
Giani says that you can use your counters again within 24 hours. I was really hesitant, so I placed my Scentsy warmer and my fruit holder down first. My microwave sat on my cutting block for five days. I didn’t want to risk damaging my counters after all that. This product fully cures after 14 days.
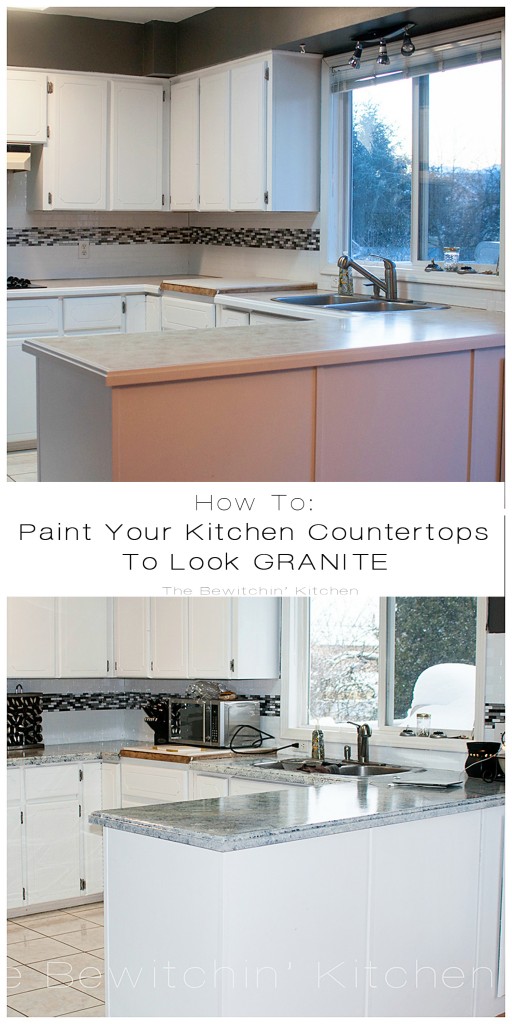
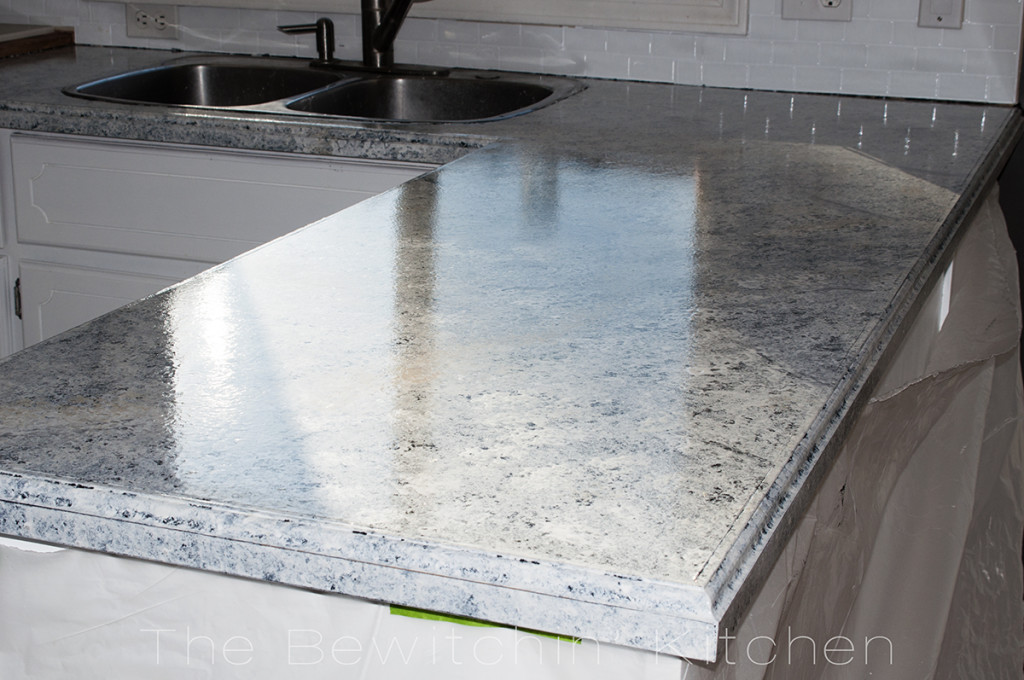
The photos don’t do it justice! It looks incredible. I wouldn’t say it looks just like granite, but it looks like a good quality laminate counter top. The product adhered well to the previous laminate and painted wood (the sides) and it now looks like one piece.
For more information on Giani Granite please visit their website. Don’t forget to give them a “Like” on Facebook for inspiration and giveaway opportunities and follow them on Pinterest!
Giani Granite is available at Amazon.com and Amazon.ca (limited color options) or Walmart.
More DIY home reno projects:
Looking for more great ideas? Click here to follow me on Pinterest!
Visit Randa | The Bewitchin’ Kitchen’s profile on Pinterest.









I didn’t even know that you could paint on counter tops that look so amazing. I have been watching HGTV and I love all those DIY projects. It makes me excited about having a house of my own so I can do things like this. It really looks great.
Thanks Nickida! It’s so easy.
You did a really good job! I was going to try it before and then chickened out and bought new laminate countertops that looked like granite 😛
Wow! It looks amazing! I cannot believe the transformation. It looks like a great product. I am really intrigued to try this product on my countertops now too!.I am dying to give my kitchen a little makeover.
OMGosh, I didn’t know that painting countertops to have a granite finish was even a thing! SO COOL! I’ve been wanting granite in our kitchen but it just wasn’t in our budget to change out the counter we have now…. wonder if I can convince TheHubs that we need to do this. I love how yours turned out, wtg! 🙂
Wow! That’s amazing! I have never heard of this option of painting your countertops. Giani Granite looks incredible! I would never have known this is was a DIY project. I love how you can hear the kids and their shows in the background while you’re doing your thing! You’re so talented Miss Randa!
That counter looks stunning! My wife wants to paint our cupboards and I have been too scared to try. Might have to give in after seeing this.
Craig it is worth it! A lot of work, but worth it. I recently did my kitchen cabinets, and it turned out really well. You can check it out here if you want: http://theeverydaydomestic.com/2014/01/29/painting-kitchen-cabinets/ I was really worried about INSLX Cabinet Coat at first after reviewing and deciding on the Ben Moore Advance (my paint store didn’t carry it but recommended INSLX) and I’m so happy I went this way.
My Cabinets were would. I took a chance and painted them with the cabinet kit. I painted them white. They turned out amazing so then I had to do the countertops. I love my new kitchen !! Let her paint her cabinets! My kitchen looks like I had a $30,000 makeover .
Pingback: $25 DIY Bathroom Countertops - The Bewitchin' Kitchen
Hi. I just did my countertops with this product ( chocolate brown) pleased with the results I agree with you it’s not quite granite but still looks good. Just wondering how your counters are doing with the every day use, are they holding up or is the paint chipping off? Thanks
Hi Wendy!
No paint chips and it’s holding up really well. My only issue is my own fault. I accidentally cut some of it with a knife while doing another project but you can’t tell and it doesn’t seem to peeling.
These look amazing! I was wondering if you have had any problems with them staining. I have three kids and love the look of the more white counters but the thought of some like speghetti sauce staining them freaks me out! Thanks!
I painted my kitchen countertops years ago. Now, I would like to change the look. Can I paint over that using these techniques or do I have to do something else??
That’s a good question. I would probably sand the poly or whatever protective coating you used. Maybe shoot Giani an email and ask for their recommendations, just to make sure.
Wondering how your countertops has held up?
Hey Mayra,
I moved from that house in October, but when I left they were still good as new.
So I just did this kit and made the . mistake of completely sponging over the primer and now the countertops look a too blue/grey (which was the first color in the kit. Would you recommend going over it with black and white OR starting over… THANKS!!!
Oh no! I would go over it with more white/black depending on your end goal.
You explained it thoroughly, that’s the thing which separates your article from others. Glad I found it.